- Home
- Education
- Mixed Media and Collage
- Live Studio Using Resin

Hi all! Resin can be a bit daunting to someone who has never worked with it. There are several easy to use resins that are widely available that can be used for all kinds of projects.
There are many different types of resin, One of that works great and is easy to use is Envirotex lite and Castin' Craft. You can get both of these at Hobby Lobby and Michaels. Envirotex is used for projects that are less than ½" thick and Castin' Craft is used for casting objects 1/4 " thick and larger.
The Envirotex lite is separated between into two bottles. One bottle is the polymer and one is the hardener. I am going to give instructions for filling an item with resin permanently. However, filling a mold is really easy as well and following the instructions for Castin' Craft you can make a mold project like a paperweight.
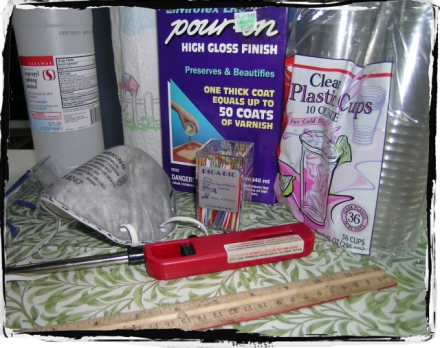
Materials:
- A clean well ventillated room.
- MASK - a good one. I use a respirator but then I use a lot of resin. Make sure it is a mask that is approved for chemicals.
- thin disposable gloves and a clean well ventilated room
- bottle caps, altoid tins, pocket watchs, metal or wood art, collaged canvas
- Enviro-tex lite (Hobby Lobby or Michaels)
- popsicle sticks
- ruler
- clear disposable cups
- Rubbing alcohol
- paper plates
- timer or clock
- barbecue lighter
- elmers white glue
- diamond glaze
- rhinestones, beads, shells, tiny glitter stars, lace, fabric, watch parts, gems, dried flowers, glitter
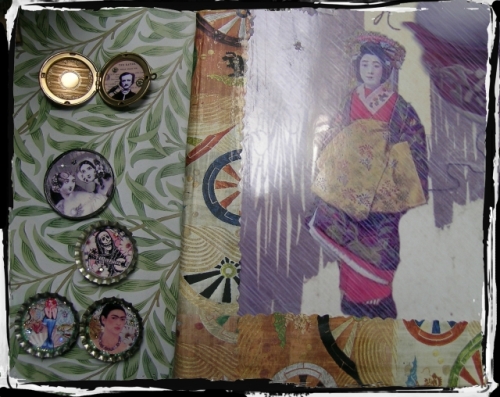
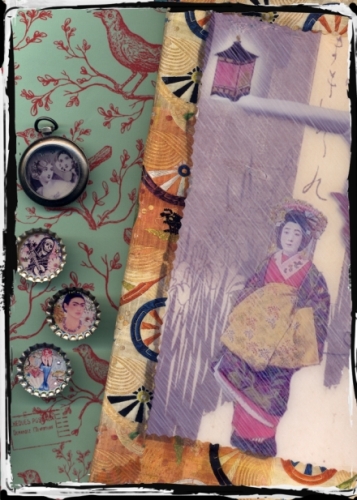
Assemble your collage in a bottle cap, pocket watch, etc. I use elmers glue to glue the image inside the bottle cap. The resin does cause spotting on some papers â one way around this is to use a paint brush to put a thin layer of white glue over the top of the image and let it dry.
Sometimes I add little watch parts, gems and glitter for some extra color and za-zazz. To glue in the watch parts and gems I use diamond glaze. Otherwise when you pour your resin in everything will float to the top.
Bubbles can be a problem with resin. To significantly cut down on them store your resin in a warm place. Also, take the bottles of enviro-tex and soak them in hot tap water for a few minutes before you start. I am going to give a quick instruction for mixing Envirotex but please also follow the manufacturers iinstructions for mixing the resin.
DON'T use anything you want to keep after envirotex is mixed in it â it is trash. I use disposable plastic cups. Depending on how much I need envirotex is a 1:1 ratio. I pour the hardener in one glass and the epoxy coating in another glass. Carefully checking the measurement with a ruler on the outside of the glass to make sure I have an equal amount of both. Resin will either never dry or dry too hard and crack if you don't use a 1:1 ratio.
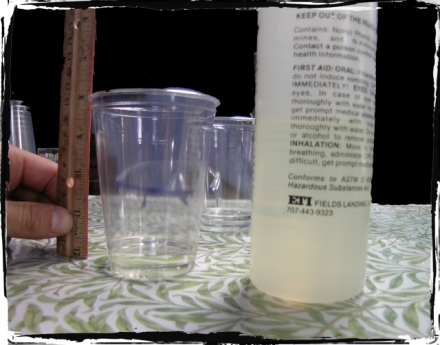
You only have a short amount of time after you pour them together so make sure you have everything ready before you do. Pour either of them into the other one. Use your popsicle stick to scrap the edges and bottom of the glass. Mix well in one glass for about 50 seconds. The resin will look very bubbly like champagne. Then I take a clean cup and pour the mixture into it scraping the resin off the sides and bottom of the cup and mix for another 50 seconds or so. This second mixing is an important step to really make sure your resin is well mixed so you don't end up with "swirls" in your final product---it only takes another minute or so.
Then you are ready to pour. I just use the glass and pour slow. But some people use sand art bottles or plastic syringes. I prefer the resin to look flat so I fill it to a little under the top but if you want you can pour it tiny bit over the top and you will get a domed look.
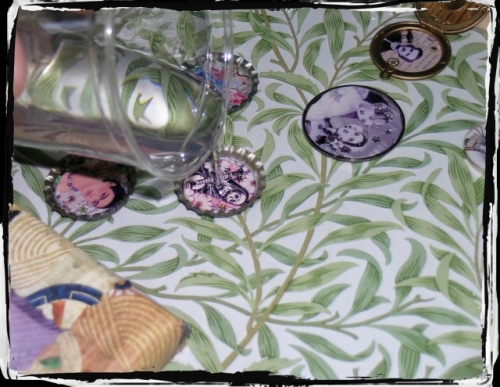
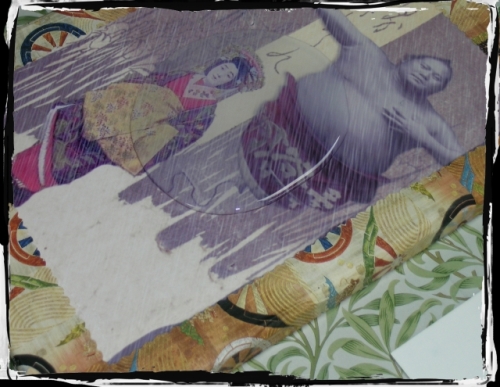
If I am covering a big piece like the canvas I pour resin in the middle and pull it to the sides with the Popsicle stick.
Once everything has been poured I like to take a heat gun and from about 10 inches away you don't want to get to close or it will blow the resin out of your cap. I quickly (2-4 seconds) do a few passes over my pieces â don't worry if there are still bubbles this just gets them moving.
It is not the heat that pops the bubbles but the carbon dioxide.

Then working one cap at a time take a barbecue lighter at a slight distance. Don't touch the flame to the resin as it is flammable. Do a pass over each item until the bubbles are gone. When it seems you got most the bubbles do one more inspection using a toothpick to pull out any dust that might have settled on the top.
Make sure you cover with a plate with a paper plate or box. This is key or you will end up with yucky dust and other stuff in your caps and set aside.
About 15 minutes later I check them one more time and usually one or two will have a bubble. Using the lighter or a toothpick get those stubborn bubbles to pop. The resin will take about 24 hours to dry.
Once your items are dry you can drill, nail, wire or glue them to just about anything.
Have fun, viva resin art!
For more:


