- Home
- Education
- Drawing Painting Pastels
- Live Studio Watercolour I

Comments appear as an exact transcript from the EBSQ Live Session.
Thank you Melissa, and welcome to all you marvelous artists who stopped in. Tonight this will be a basic lesson in watercolor. I paint differently than most traditional watercolorists, in that I paint like someone would color a picture in a coloring book, one shape at a time...sometimes referred to as "stringing beads." Each shape is painted as a separate unit that eventually organizes to fit like a puzzle into a cohesive composition.
First off if you only buy one watercolor book your entire life make it this one: "The Watercolor Book" Materials and Techniques for Today's Artist by David Dewey. It is excellent!
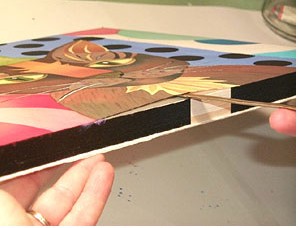
PAPERS: Most beginners give up on watercolors because they use cheap student grade paper. If you have to cut costs on supplies, don't do it on the paper. Good watercolor paper is mouldmade, 100% cotton, acid free, & it's surface sized with gelatin. It won't yellow or deteriorate with age. There are many manufacturers of watercolor paper, but a couple of the top ones are Arches & Fabriano. My favorite surface is Cold Press but watercolor paper also comes in Hot Press (smooth) and Rough. I will be using a Cold Press 10" x 14" watercolor block for my demo.
Watercolor blocks are bound together on all four sides, which keeps them rigid and eliminates the need for stretching the paper. When you finish a painting you simply slice the sheet off the block.

PAINTS: A couple good beginning sets are the Cotman Series WC's made by Winsor & Newton, the Grumbacher Academy tube set with twenty-four colors and the Grumbacjer Cake Set of 24 colors. Some of the brands I use now are: Winsor Newton Finest, Schmincke & Sennelier. I like tubes and pans/cakes equally.

BRUSHES: Another important tool are the brushes. Watercolor brushes are short handled, soft brushes that are designed to hold alot of water. They come in many different styles and are made of many different fibers. Pure Red Kolinsky Sables are the best. If you are just starting I would suggest the Winsor Newton Series 101 brush. Make sure you always store your brushes upright or a Bamboo mat. Never leave your brushes in your water container, not even for a minute.
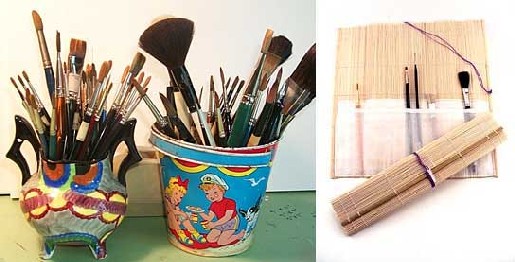
The group of round brushes being used for my demonstration are a #3, 5 and 7 pure red sables rounds, a couple synthetic rounds and one old brush for applying frisket.

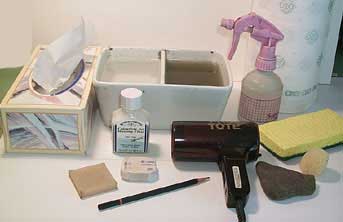
Other things needed: 2 water containers, a spray bottle of water, a blow dryer, white plastic eraser (this type won't harm the surface of your paper), a variety of sponges, Liquid Frisket, a 2H pencil, paper towels, tissues, and something to prop the work to a 45 degree angle.
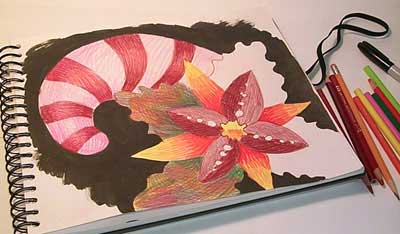
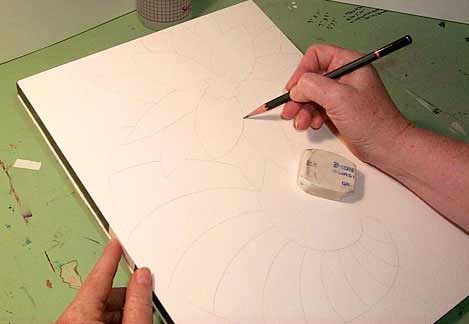
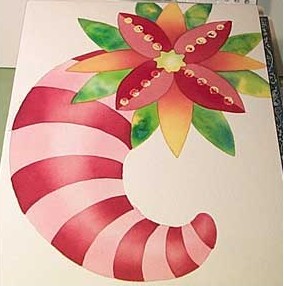
First I draw out a rough color pencil sketch of my "Flower and Smiggle" painting.
Then using a 2H pencil, I draw the design on my watercolor block. Tip: Try not to touch the surface of your paper too much, just handle the edges. Natural oils from your skin will transfer to the surface and cause the paint to bead up in those areas. < p>
Mix some Winsor Red paint diluted with water, test out the transparency of the paint on a scrap of WC paper. Use a #7 or larger round brush.
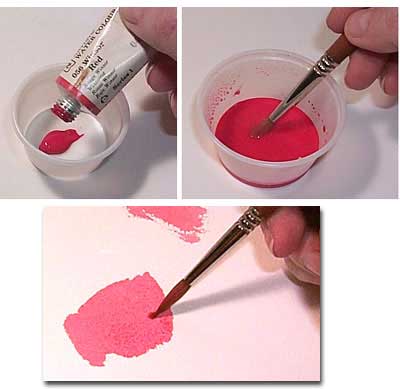
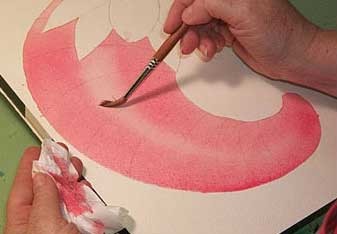
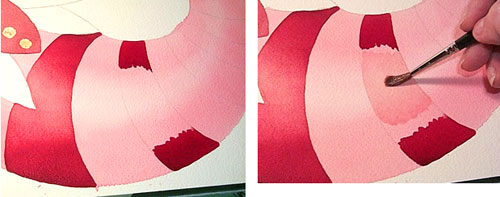
First wet the area with water. Then add the red pigment, working quickly to get a nice flat wet-into-wet wash, like this...
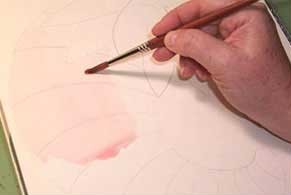

Rinse the brush out well, blot it dry and while the paint is still wet start "lifting" the paint down the middle of the shape. Drag your dry brush down the center, wipe the brush off on kleenex or your sponge. You will be removing the pigment a little at a time, revealing a light turning edge.

As the Smiggle wash dries, apply circles of Liquid Frisket down the center of the petals. Mix up the frisket with the wood end of a old brush, then pour a little in a plastic cup. The frisket has a slight yellowish tint so it can be seen.
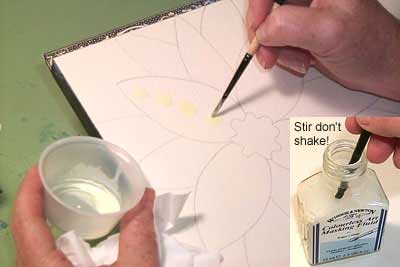
3 important frisket tips! Don't leave it on the paper for long periods of time, stir don't shake the bottle to mix and DON'T use one of your good brushes! Use an old synthetic brush. Clean with warm soapy water immediately after using!
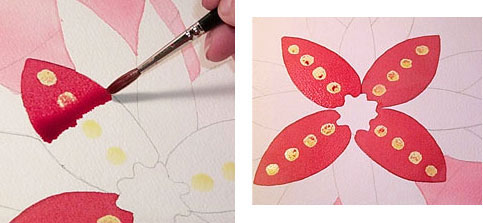
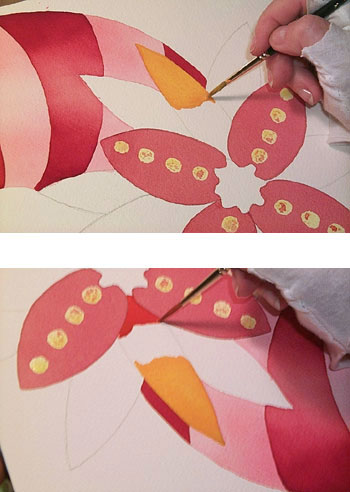
I start painting flat washes on the wider petals, using one of my favorite colors called Perylene Maroon by WN. Mix up a nice well of paint slightly diluted with water. Tilt the block to a 45 degree angle and apply the paint with a back and fourth stroke, allowing a bead of paint to flow down to bottom each time. Don't skimp on the paint!
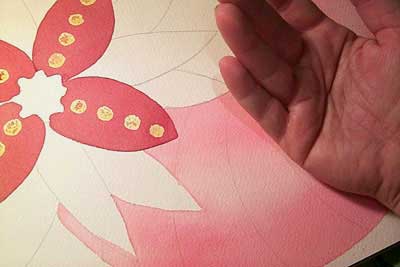
Now go back to the smiggle shape. Test dryness by lightly press the BACK of your hand to the painted surface. If it feels cold & damp then use the blow dryer before continuing.
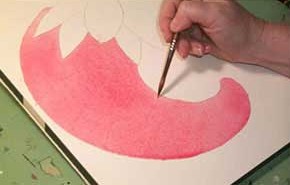
Working on the Smiggle Stripes now...apply more maroon pigment to the same cup and dilute with water to the consistency of buttermilk. Apply the maroon paint to the two ends of the stripe. Add clear water to the center and slowly tickle the edges of the paint using tiny chisel strokes. Be careful that you do not go into the pure pigment to far. Flip the block as you blend. It should be very pale in the center and darker on the outside edges. Don't over work it! This takes a light touch and practice to get a smooth even transition.
While the Smiggle stripes are drying, do some of the other flowers petals using the same transition technique, but this time using two different colors, yellow to orange (also called a variegated transition.)
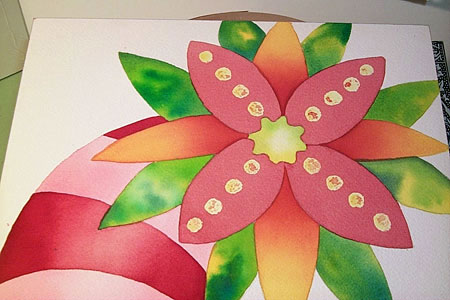
Do some "wet-into-wet" techniques on the outer petals and on the center. Wet the entire area of the petal with clear water. While it's still wet drop some lime green, blue & yellow pigment into the shape. Let the paint spread on it's own--you can tilt the block a little if you want. This technique is also great for loose, lush backgrounds. Here's how the petals look after doing the wet-into-wet areas.
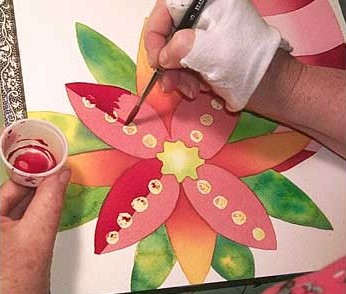
Next add a darker half to each of the tinted maroon petals. Mix up some more Perylene maroon paint (test it on a separate sheet of paper to make sure it's the right tint) and apply it down one half of the petals going right over the frisket circles. One tint applied over the is called "Layering" Many traditional watercolorists use layering alot. (Painting from light to dark and ending with the fine details.)
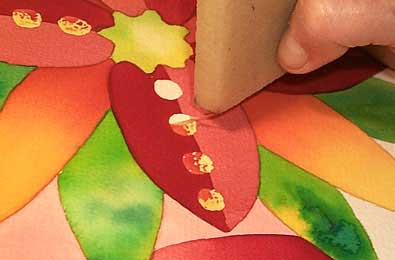
After all the petals are absolutely dry take off the frisket spots using a Rubber Cement Pick-Up Eraser.
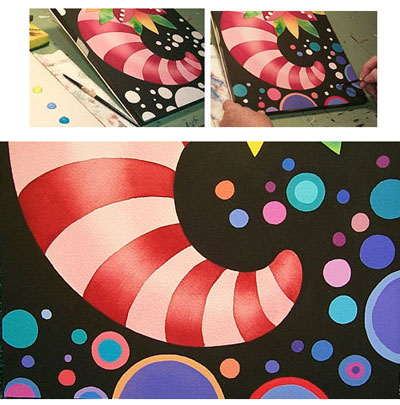
In my original sketch I had intended to paint a solid black background using acrylics, but decided to add some different size dots to the background as well. The dots were painted with acrylic paint.
With a few more dabs of watercolor on a few of the petals...
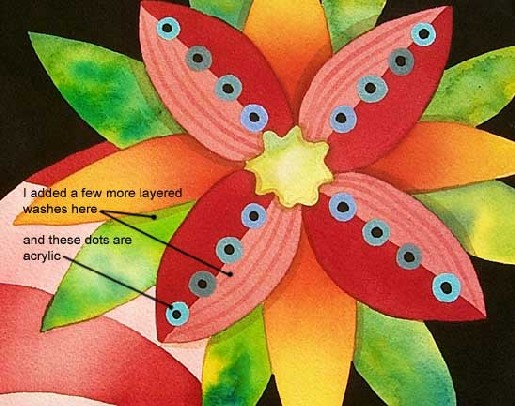
Heres my FINISHED painting
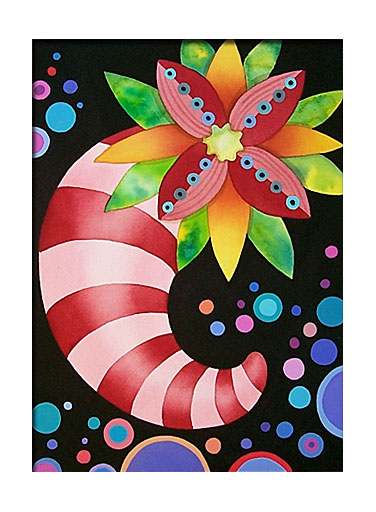
Well that's it! Thanks everyone, I hope you have fun trying out some of these techniques. Here are the links on stretching paper as I promised.


