- Home
- Education
- Miscellaneous Articles
- Live Studio Gridding

What is Gridding?
Gridding has been around almost as long as art itself. Even as children some of us gridded in coloring books (complete the character type things) There are many masters who gridded, (including Leonardo Di Vinci), NOT just as students but as masters. It is a method of creating, enlarging, or decreasing the size of an object or photo from one grid of guidelines to another. This method can have profound results on your artwork and give you that edge you are looking for.
It not only helps you with keeping your perspective of items/lines but composition, and proportion also. It will force you to see basic lines in your art, and make that blank canvas less daunting. I personally feel this method is better than using a projector or tracing. It is not cheating but a tried and true method. It is an effective tool.
Gridding vs. Tracing, Carbon paper or using a Projector
Though speedy, with a projector or tracing you use a different skill set. You follow lines that are already in place, and it can be tricky at times if you hand gets in the way or if you don't have a light box. It's easy compared to sitting there looking at a photo and wondering what is "off" about it, or why your art isn't as good as it could be. Don't get me wrong- I'm not down on either of those methods BUT, they do not help your natural skills and talents for sketching/drawing fully develop.
There is less of YOU in the work. You are just going through the motions.
With gridding you, have guidelines, BUT you still have to use your own judgement and estimate placement. It's not done for you. This helps your natural eye develop with placement, proportion, and composition. I get the same result, but without all the erasing and doubt, and it's quicker! There is nothing worse than looking at a sketch and NOT being able to see what's *off* about it - no matter how many tricks you use to try to find out why. (turning it upside down - looking at it in a mirror etc..)
Sometimes even with the most precise gridded sketch/drawing - something in the work won't translate well to canvas. Then that is up to you to tweak it, so it works, and your creativity takes over (unlike a predrawn/projector image.)
HOWEVER, with gridding, one needs to remember it's a tool and not the end of the road. If you only grid - you limit yourself and the possibilities of your artwork. It is a tool, not a solution.
Druid Grid
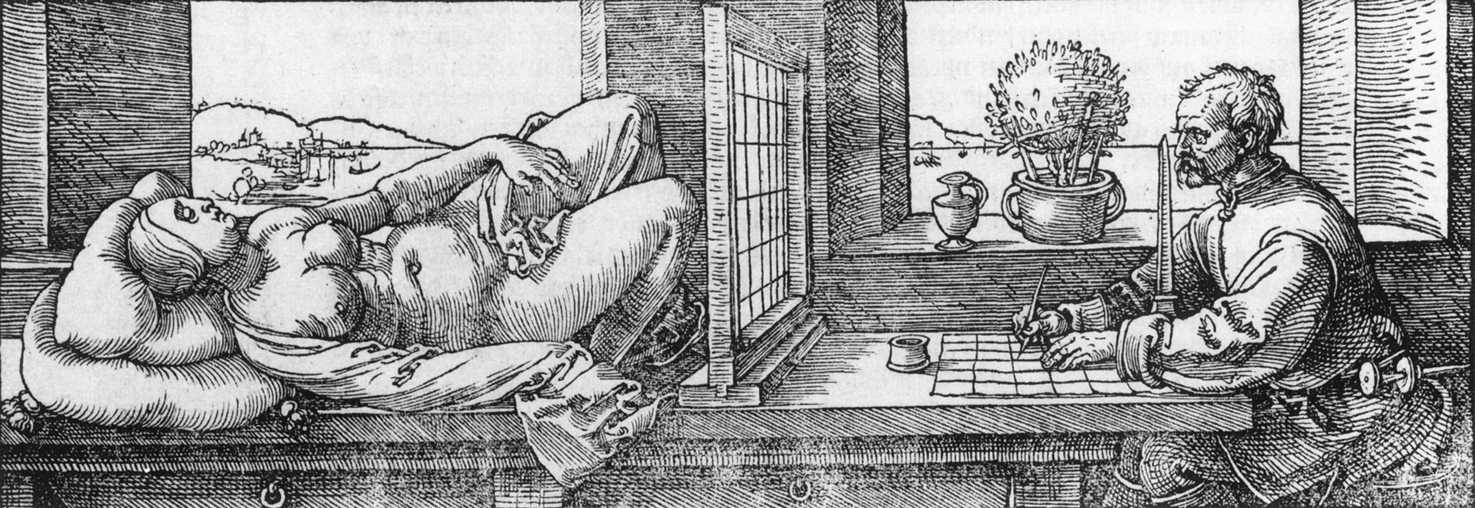
Previously there was only one method of gridding and that was using something called a Druid Grid. This work of art by Albrech Dürer in 1525 is called "Draughtsman Making a Perspective Drawing of a Woman", and shows a Druid Grid in action.
With the miracle of technology, we now
have graphic programs that will allow us to put grids over digital files.
HOORAY!!!
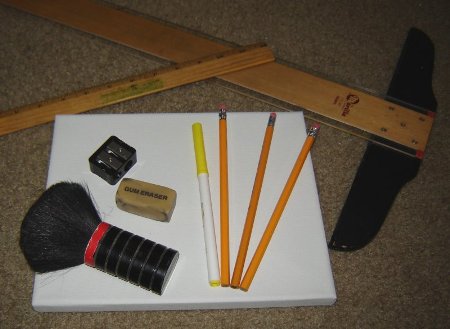
Basic supplies needed
Since I'm a painter I will go that route and hopefully common sense will show the way in how to adapt this to your specific media. I'm also going to start with the easiest method - using digital photo file.
- ruler
- T square
- pencil
- sharpener
- eraser
- large makeup brush
- canvas
- gesso
- very fine grit sandpaper
- digital photo
- graphics program (one that will allow you to place a grid over your work)
I have found pencil works best. At one time I tried acid free markers, but I'm not a brush scrubber so I found after I finished (and while I worked) the pigment from the markers was bleeding through (OH NOZE!!!!).
No matter how many coats of paint I put over it, it still found its way to the top. So I moved back to pencil.
I found out that the acrylic paint is basically liquid plastic and it's porous. As it dried, it was wicking the pigment to the top. To remove it, I had to use a slightly damp soft cloth after the paint dried and wipe it down several times. Soon it was 100% gone and won't be back.
I'm lucky with my type of art because I use hard lines so it doesn't matter how dark I sketch because i go over it with black 9 times out of 10. BUT if you don't use the hard line you will have to find the perfect pencil for you. I just use a regular #2 and i go through them like water.
I have also found when working with pencil on stretched canvas, it is best to gesso your canvas twice more, even if it's a pre-gessoed canvas. I then go over it with a fine grit sandpaper. The sandpaper knocks down any high points, brush marks and gives the pencil something to stick too. Otherwise you are smearing graphite all over the place and can't see where/what you have done. (READ: A BIG HUGE MESS)
If for some reason don't want anyone to know you used the grid method, then don't gesso over your sketch/grid. It will be very visible on the backside of the canvas.
The Project
Okay, for this project, a quickie Pop-Tanical©, I'm going to use an 8x10 stretched canvas. This one has already been prepared and is ready to go.
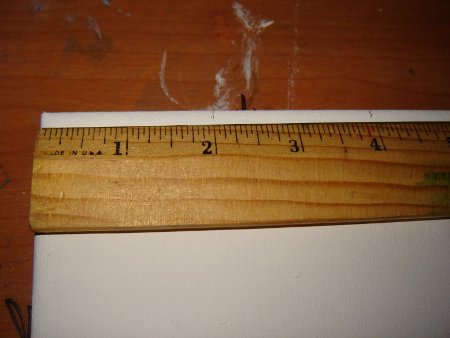
As a personal preference, I like to work in 2 inch squares. You can work in whatever scale you are comfortable with.
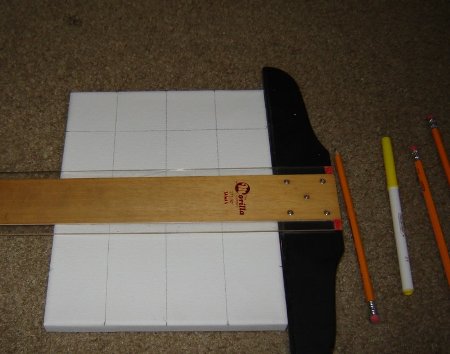
Using my ruler I go along the top and make a mark every 2 inches.
I have found no matter how good the ruler is, if I flip this canvas upside down and start from the other end, my 2 inch increments WON'T line up. So without flipping the canvas I do the same along the bottom.
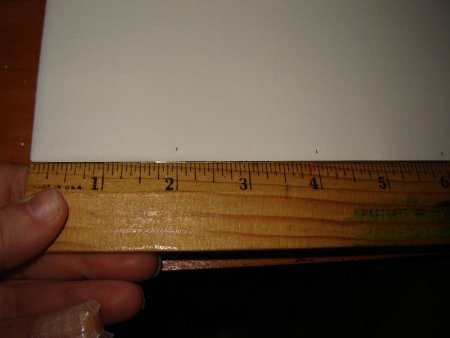
Follow the same process on the sides, making sure not to flip the canvas.
Now comes the T-Square - if you want straight lines no matter the size of the canvas use a T-Square. I picked this one up at a garage sale for $2.00 and a larger one at another for $3.
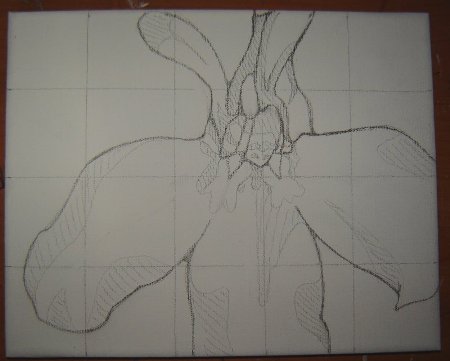
Go through and connect the marks and draw your grid. The straighter your lines the better the drawing. If your lines are warped your drawing will be warped.
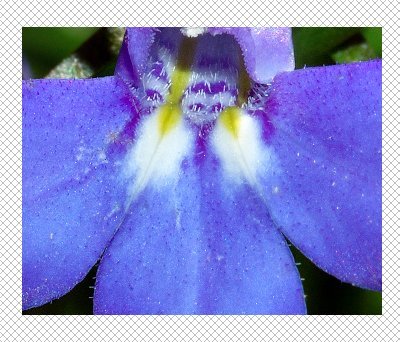
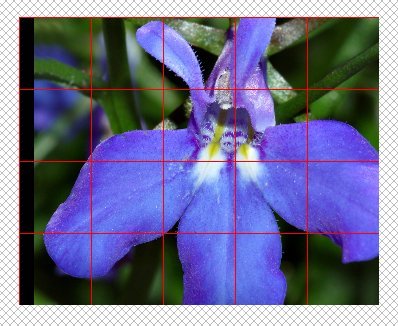
Now let's find a reference. The more clear and sharp it is, the easier it will be work with. This can be ensured by using higher resolution pictures. I am going to be working with this image from Wikipedia Media, by André Karwath.

It's rather large, and nice and sharp. If it was cloudy and small it would be near impossible to do the next few steps.
I use Paint Shop Pro 6.0. It is
not the most advanced/current image/graphics program or the most expensive,
but it does what I need. I can choose the space between my grid-lines,
and even change the color of my grid which really comes in handy. This
can be done on most programs under a "general program preferences"
or "options".
To keep this easy I'm going to do a 1:1 (one to one) ratio. I'm doing to open a new image that is also 8x10 like my canvas.
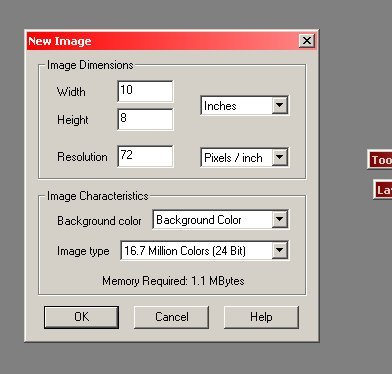
Then I copy & paste my image on top.
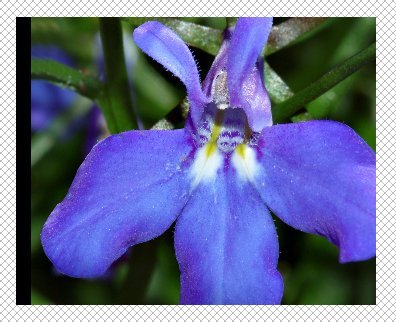
As a standard practice, I flip all images. So this is now flipped, but still SUPER HUGE. So I've got to re-size it (vector it) to fit the canvas area. During this phase it's also good to come up with your own comp styles. I like to leave approx a 1/3 of the canvas barren. Move it around - find what fits you. Each of us would choose a different composition.
Doing this will also changes the photographer's composition. Since you are recomposing it, it is now your (semi) original comp - and with other artistic changes it now becomes an original work of art, though derived from something else.
(ALWAYS KEEP IN MIND COPYRIGHT LAWS!!! - REMEMBER YOU HAVE TO CHANGE IT IN ORDER TO CALL IT ORIGINAL - JUST PAINTING A PHOTOGRAPH IS JUST THAT!!!)
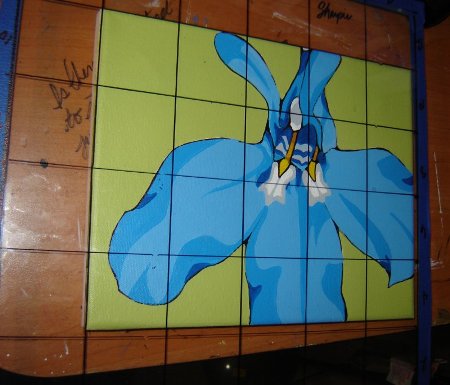
OK here is how I decided to compose my painting.
My program is set to put 2 inch grids down at a push of a button.
Now for the fun part....
I like to find a spot that starts perfectly at an intersection. So I know exactly where I am. So the point I chose this time is the second square from the right on the bottom row.
For everyone this part will be different, but I like concentrate mainly one square at a time.
You could go through and do a rough sketch, by plotting important features and lines. I like to concentrate one square at a time, and work my way around.
I used to do the previous way, but after a while you start to look at it differently. It becomes separate parts, and each square has nothing to do with the other - other than the lines have to touch.
This might be why when I paint - I paint upside down, sideways and right side up. I can look past what it is and only see the parts. So I'm comfortable working from all angles to get the stroke in a way that feels right and fluid with the artwork.
Here is the square in question. I have marked the halfway point (1 inch) on each side. This is where your personal eye comes into play. You have to guesstimate where to start it and where to end it.
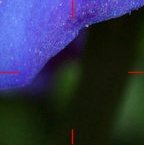
and my line,
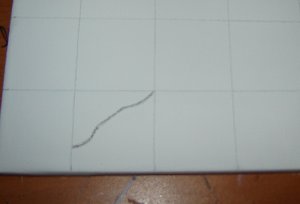
It is important to only look at them as squares and keep the idea of the finished flower out of your mind, but eventually all those single square lines will come out to be the outline of the flower.
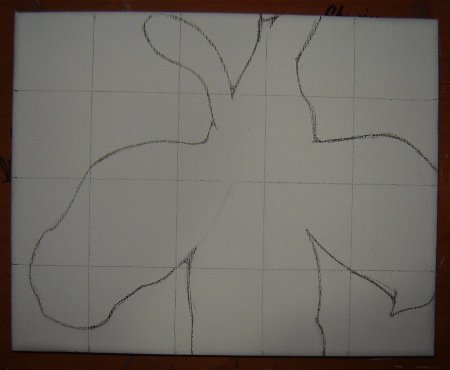
Still using the grid for placement, I go in and place more details into the sketch.
Now before you paint it is a good idea to remove the grid lines. You don't want those bad boys peeking through - ESPECIALLY if you paint thin. I paint pretty opaque so it's not an issue for me but I erase them out anyway.
When you do, there will be TONS of eraser stuffs left about. This is also the point where you will be kicking yourself if you didn't double gesso as the pencil won't erase easily either.
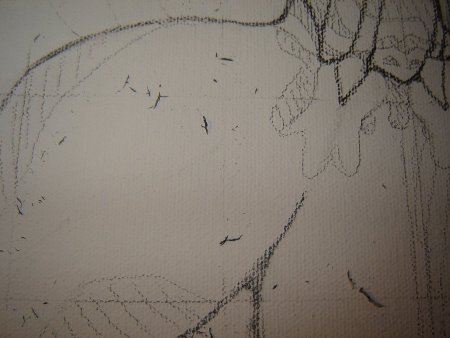
This is where the large makeup brush comes in handy. That stuff is worse than cat hair at finding its way into your paintings.
As I go, if I find something that I find is off or not working, I will put a piece of glass with a grid drawn on it with a permanent marker on top of it (since I erased or painted over the grid). It wont ever match up exactly because of Murphy's Law but it's still useful. This way you can see if it's you or the original image is just NOT translating.
Here is my handy Druid's Grid thinger I made out of glass and a sharpie. I have the edges covered with painters tape. It's 12x12 (or so) and I can use it at the easel or desktop. I've not used it for real life still life (yet)
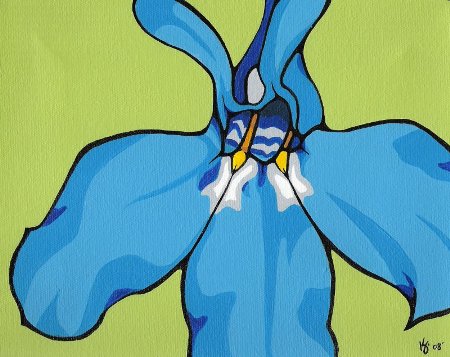
I was having issue with the antennae flappy things not reading well on the Lobelia flower. So I had to use my own creativity and fix it - because it wasn't going to happen with that reference. That's another thing about gridding - what looks great in a photo doesn't always translate well.
And here is the finished product:
BUT what if you don't have a program?
Don't go out and buy one, you can still grid.
The easiest way to grid with no program is to find your canvas and measure it. You can either scan your photo in and re-size/re-crop it to match then print it either 1:1 or 2:1. Then draw a grid to match right on top of it.
If you have to maintain the original then break out a piece of glass or plastic and draw your grid there.
The math part of gridding can get insane when you start dealing with 1/16th of an inches and stuff. So always try to keep it simple. That's why I like to work by 2's.
Here are some quick reference guides for gridding:
If your canvas is 16x20 re-size your reference to 8x10 with 1" squares and the canvas with 2" squares.
If your canvas is 20x24 re-size your reference to 10x12 with 1" squares and the canvas with 2" squares.
-or- you can
If your canvas is 16x20 re-size your reference to 4x5 with 1/2" squares and the canvas with 2" squares.
If your canvas is 20x24 re-size your
reference to 5x6 with 1/2" squares and the canvas with 2"
squares.
BUT what if you want to use the druid's grid?
Simple. Set up your still life/landscape and grid it out like before. You will just have to find a set point to keep your eye (see first image). That's the hardest part, because if you move your head you change your subject in the grid.
Remember you don't always have to do things by the book, don't be afraid to try things outside the box. Set up a grid with the same number of 1" (centered on the side) as 2" on the other. See what happens! You can be very creative with your gridding.
Thank you for listening to me blather on about gridding :-)
I really hope some of you guys try it out. Even if it's not a success, I want to hear about it and what you liked/disliked. If you have any further questions you can always find me on the forum or shoot me an email :)
THE END!!!!!


