- Home
- Education
- Miscellaneous Articles
- Jingle Blocks
Supplies:
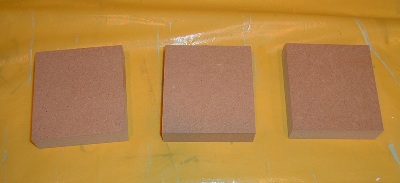
Scrap wood
Scrap printed paper
Paper cutter
Acrylic paint
Mod Podge (I use Matte)
Foam Brushes
Sandpaper
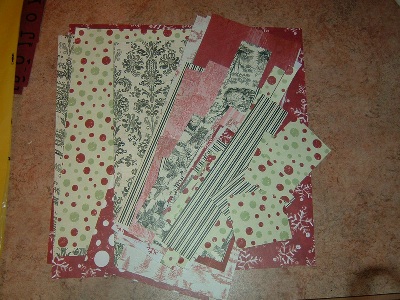
Step Two: Choose your paper. Scrap paper is fine since the largest piece just has to be 2.5" x 2.75". I like to use several layers of somewhat related scrapbook paper. For these I used mostly vintage looking papers with Christmas themes.
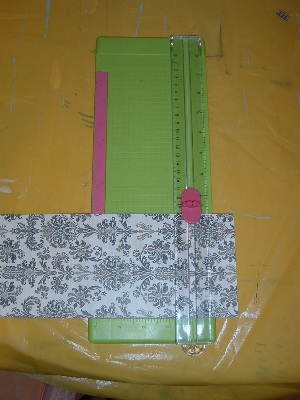
Step Three: Cut the paper. For these I cut the polka dot paper to be 2.5" x 2.75" so just a bit of the wood will show on every side. The snowflake paper is cut around 1.75" x 1.5", the brocade about 1.5" x 1.25" and the letters about 1" x 1". It all just depends on your letters or words and the size of wood you are using. A paper cutter comes in handy here, but you could do it by hand.

Step Four: Paint the wood. Paint front and back and all four sides. I use acrylic craft paint because it flows well, is cheap, and dries fast.
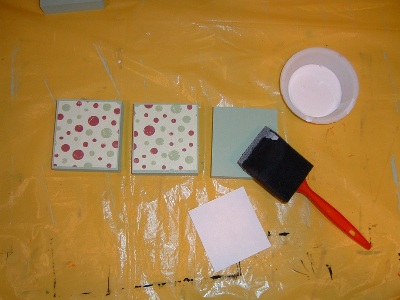
Step Five: With a foam brush, Mod Podge the front of the block and the back of the largest paper (for these it's the polka dot paper). Put the paper on the block and smooth down all edges really well with your finger. Let dry.
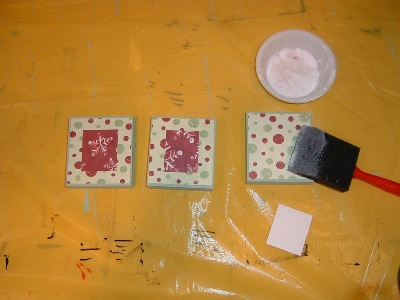
Step Six: With a foam brush, Mod Podge the front of the block again and the back of the next paper (for these the snowflake). Put the paper on the block and smooth down all edges really well with your finger. Let dry.
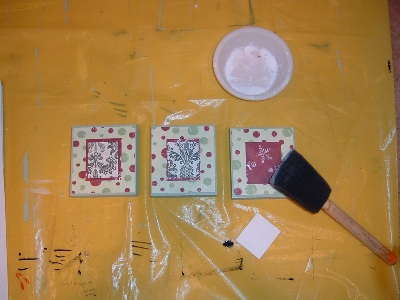
Step Seven: With a foam brush, Mod Podge the front of the block again and the back of the next paper (for these the brocade). Put the paper on the block and smooth down all edges really well with your finger. Let dry.
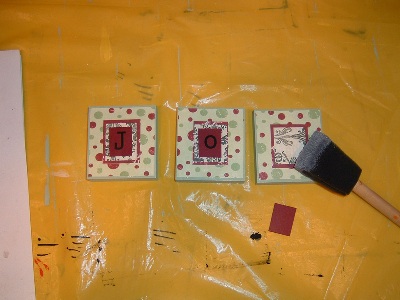
Step Eight: With a foam brush, Mod Podge the front of the block again (is this deja vu or what?) and the back of the paper with the letters on it. Put the paper on the block and smooth down all edges really well with your finger. Let dry.
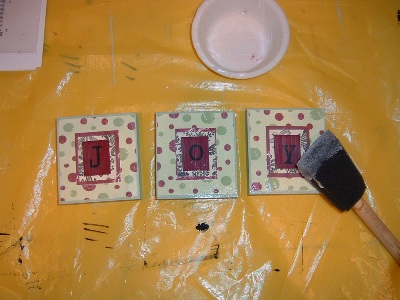
Step Nine: With a foam brush, Mod Podge the front of the block one last time. Let dry. By Mod Podgeing every layer you're sealing down the last layer and making the top really durable and smooth and a little shiny with the matte Mod Podge and I'd guess really shiny with the shiny Mod Podge.
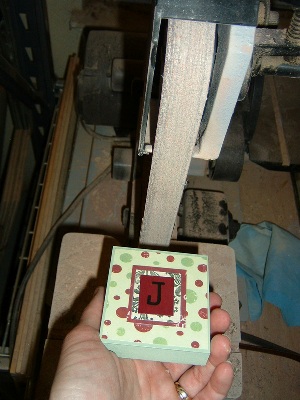
Step Ten: Sand the edges if you want to. I use a belt sander, but you can do it by hand. This gives the blocks a nice distressed look.
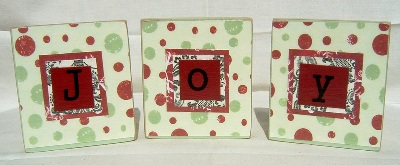
Voila! You're done.


