- Home
- Education
- Printmaking Pyrography Scratchboard
- Live Studio Block Printing

This presentation is about block printing. As we go through it step by step, you will see that it is far from complex.
I have quite a few images, so let's get started.
To begin, here are materials that you will need.
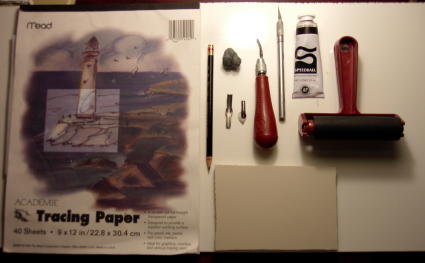
You will need pencil, eraser, tracing paper, linoleum cutter, Exacto knife, brayer, ink, something to roll out the ink on and, of course, the material that you plan to carve.
There are many different types of materials. There are wood, linoleum and composite materials. I do not care for linoleum as it gets hard quickly and can be difficult to carve. I prefer the composite materials.
I use Nasco's Safety Kut. I have tried Speedball's product and found it to be too crumbly. It doesn't hold a clean cut. Dick Blick also makes one, but I have not tried it. One thing to remember-- some of the composites can not tolerate oil based inks and their solvents. As I use the water-soluble inks, this is not a problem. I will provide links at the end of the presentation.
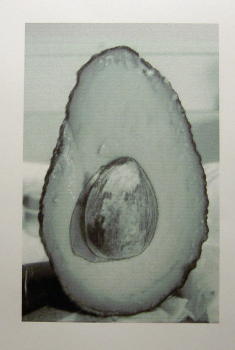
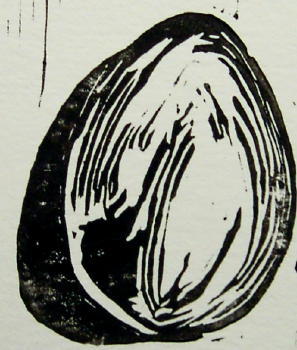
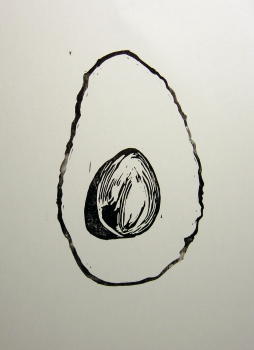
Now, to the block... First select your image. It can be anything. A drawing, a photograph, what ever you like. I decided to take a picture of an avocado. I changed it to gray scale to make it easier to work with.
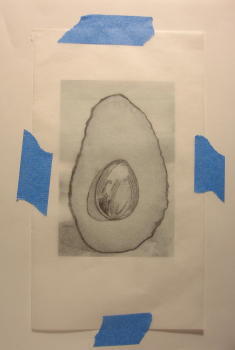
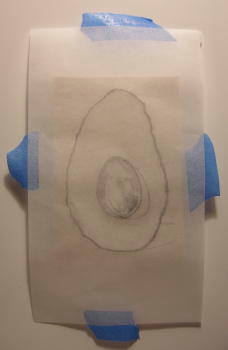
Get a piece of tracing paper and trace over your image. Keep in mind that, unlike painting where you "add to" to create your image; with block prints you "take away." The negative space is as important as the positive. If your surface is hard, such as wood or linoleum, you can draw directly onto the block. The softer materials can be damaged by attempts to draw directly on them. If you must do so, use a very light touch or use a brush and ink.
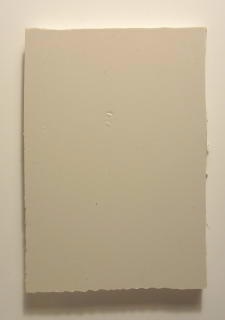
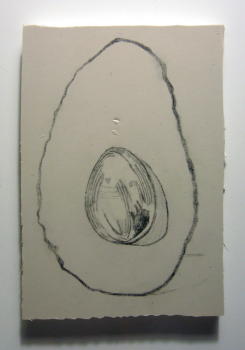
Take you tracing and place it pencil side down on you block. Then rub to transfer the image. The image will appear in reverse but will print the right way around. This makes using letters almost fool proof.
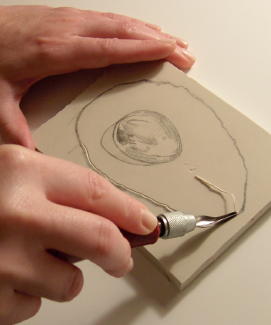
Now you are ready to carve.
For fine lines you want to use a narrow cutter. This is good for outlining and detail.
For wider cuts, use a wider blade. The blades are u and v shaped. There is one that has straight sides.
The angle of the blade determines the depth of the cut. The more acute the angle, the deeper the cut.
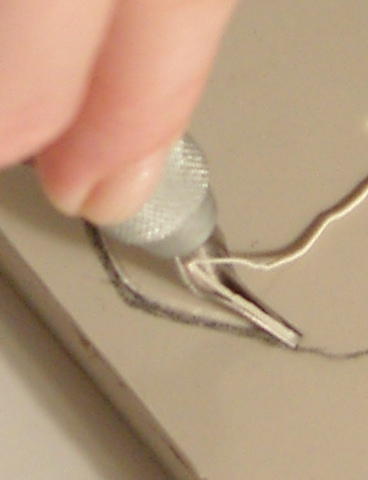
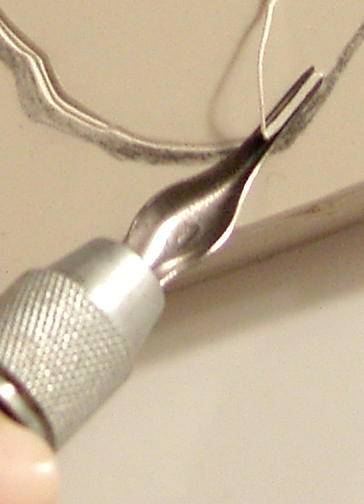
The amount of pressure determines the width of the cut.
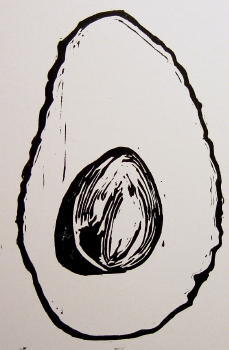
Pay attention to the direction of your cuts; they are part of your image.
Also, shading is possible but not subtle shading. You need to plan ahead just how you want your "shading"Â to be and include those cuts when you trace your drawing.
Now that you have finished, you may want to smooth the edges with an Exacto knife or razor blade. *Exactos are also very handy for cutting away tight areas* This will prevent an edging from being created around your printed image if that it isn't something that you want.
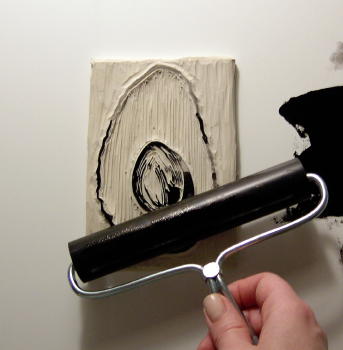
Now you are ready to print. Squeeze out some ink onto your inking surface and roll it out with a brayer.

When the roller of your brayer is well coated, roll it onto your block.
Next, take your paper and place it on the block and press. For this you can use your hand, a brayer, a baren-- anything that will apply the pressure and transfer the ink. In the next image I am using a spoon as a baren.
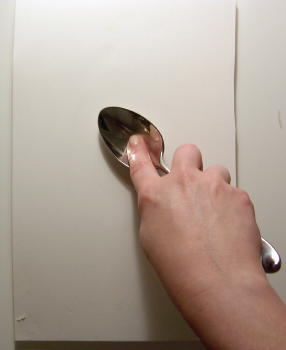
Now, gently peel the paper off of the block. Make sure to do this evenly and without it slipping. If this happens, it will smear the wet ink.
The amount of ink you use determines the type of print that you get. Too little and it is spotty. Too much and it is bloogey. You are shooting for a happy medium. Though less is better than more.

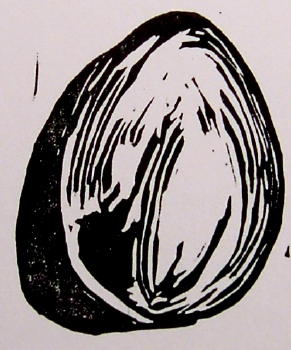
The application of the ink also determines how much of the block is inked. The number of cut marks that are printed will change the feel of your print.
If you wish to do multiple colours simply cover the areas that you do not wish to be inked. Print the image then ink with your other colour and repeat.
As for your paper,¦ you will need to secure it to a table or another stable surface. Create and secure a right angle over the paper. You will use this to line up your block so it prints in the same place every time. Don't even try to line it up without some sort of guide. It might be prudent to allow the ink to dry before you add your other colours so it does not smear.
I prefer to use one colour for inking and then adding colour with pencils or paint. Keep in mind that the water-soluble inks will smear if you add wet colour. (paints, etc) To solve this, simply apply a light coat of sealer.
Some final words. Less is more. Carve some; do a test print to see what you have and then continue if necessary. If your blade slips and you go too far, you can do small repairs. Just get some glue (I like quick drying acrylic or super glue) and stick it back in place. Allow it to dry and continue.
Some other materials that are fun to carve are red rubber erasers. Pink Pearl is one but I like it's cheaper cousin, Colorific. Plastic erasers are also good. Sanford's Pink Pearl and Staedtler's Mars Plastic comes in two sizes. Use an inkpad for your smaller works.
I guess that is about it. Here are the links. Some are supplies; some are information. I hope that they are helpful to you.
www.philaprintshop.comhttp://arthistory.about.com/library/weekly/aa051200a.htm
http://www.enasco.com/prod/Home (for this one, go to arts & crafts | printmaking | block prints)
http://www.misterart.com/search/index.cfm?searchstring=block+prints&store=ALL
http://www.dickblick.com/categories/blockprinting/
http://www.dickblick.com/itemgroups-b/blockprintingpapers/


